I needed a nut to put on the screw. In Blender I used a boolean tool on a cylinder with the screw. Then I enlarged the cylinder a little and send it to the printer.
It took 1:49 hour to print it. It is 2 cm height and 4 cm wide. Would it have been better if I had adjusted the proportions of the initial cylinder to the same as I had for the screw? That is something to test...
But the nut works. I had to twist it for a couple of minutes back and forth to make it fit smoothly.
If you want to create a copy of this screw and you have access to a 3D printer then you can download the file at Thingiverse or from YouMagine.
Saturday, 28 February 2015
New Screw
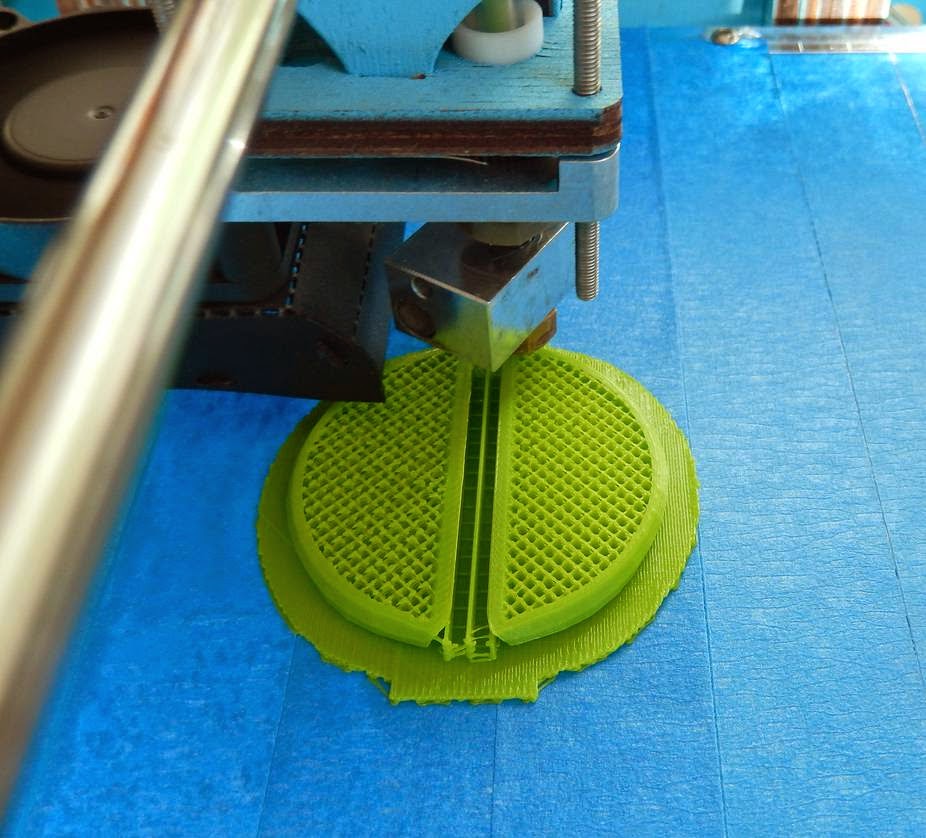
I redesigned the screw. The overhang should be less and I made the screw more round with a Subdivision Surface in Blender. Also I will test here a different Infill speed now set to 50 mm/s. And with a small part support material build with a raft which you can see in the image below.
The infill looks a bit better now...
The print went quite ok. Again some little problems on the right side of the print due to no cooling fan. In the image below you can see the effect of support material. The raft worked very smooth. First you see the ready screw with the raft still under it. In the next you see how smooth the raft items came of.
Still some disturbance on one side of the screw.
It took 4:19 hour to print it. Measures are: 5 cm wide at the bottom part and 11.3 cm high.
If you want to create a copy of this screw and you have access to a 3D printer then you can download the file at Thingiverse or from YouMagine.
Screw...
I created a screw in Blender. It is quite easy when you know finaly how to do it...
Because my printer has difficulties with overhang below 50 degrees I made the spiral part so it would be over 50 degrees on the lowerpart. But it seems it was still to much. The printer printed one side of the spiral very good and in the other part it had problems....
The infill speed(mm/s) was 70 and inner shell speed (mm/s) was 60. But it seems that the inner part of the item is made to fast.. There seems no connection between the crosspoints... I have to experiment on this...
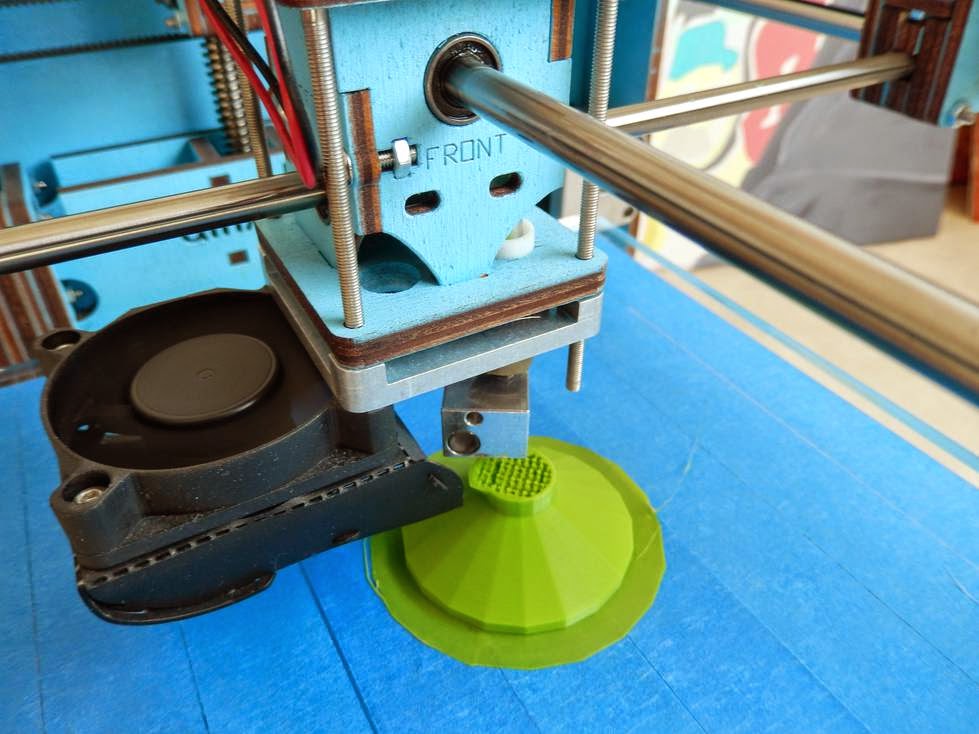
As you can see on the image below the coolerfan is on the left side of the screw. This side looks quite good. The right side of the item has no fan and this part looks bad. Because the filament is 210 degrees Celsius when it comes out the printhead it needs to be cooled down quickly to form a solid part in the object. This isn't done on the right side so the filament stays longer hot and starts to misbehave....
The printing took about 4 hours... It is 11 cm high. The bottompart is 5 cm wide. The screw looks nice but not perfect... It should be rounder and the deformation isn't nice.... It was a first try...
If you want to create a copy of this screw and you have access to a 3D printer then you can download the file at Thingiverse.
Friday, 27 February 2015
Wine Glass
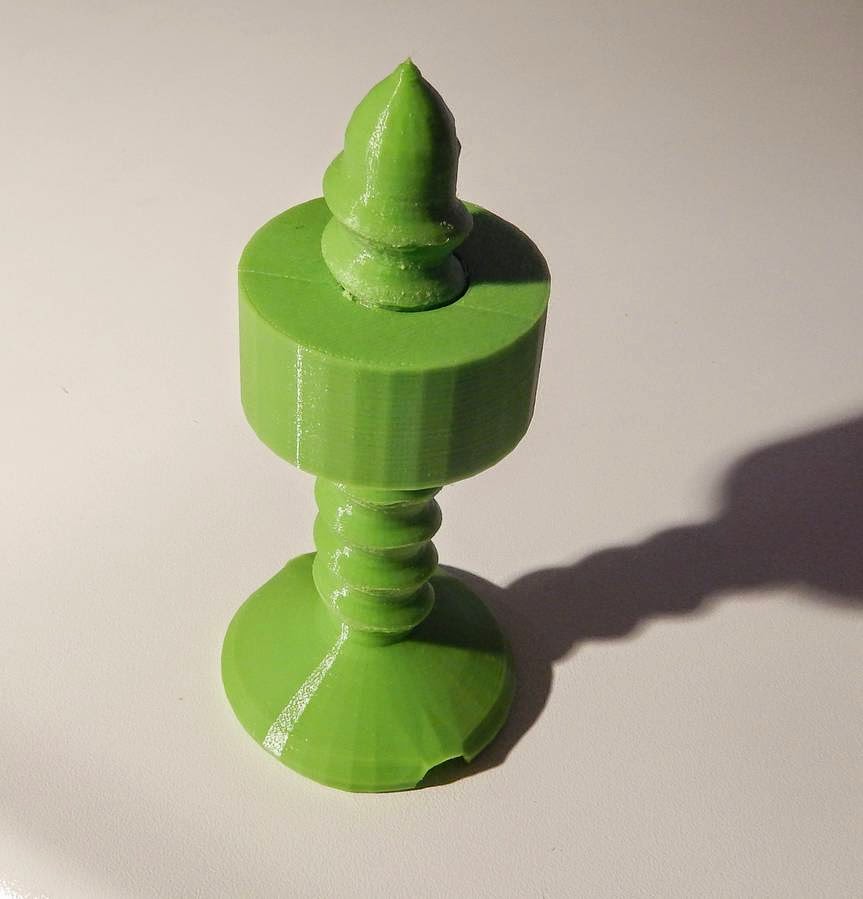
This .stl file I found on Thingiverse. Yesterday I connected the beginning of the new filament to the old one which was almost finished. I used the trick I learned from Barnacules Nerdgasm in his youtube Channel. It is done with a flame and a file.... I did do another item to see if the transition went smooth in the Ultimaker....but the extruder had some problems and could not push the filament further so that the printhead moved but without putting plastic on the item. I think it is because I file to much and the filament was to thin at this connection. During the next item I put a little pressure on the filament before it enters the extruder and this made the connection go through the extruder. Except for the overhang from stem to calyx it went smooth....
It is 9.1 cm high and the print lasted around 3 hours...
It is 9.1 cm high and the print lasted around 3 hours...
Thursday, 26 February 2015
Peak Thing
It is just a funny thing. To create something..... It is completely useless. Maybe you can hang a ring on it or scratch your back with it... It took 5:01 hour to print in PLA. Only at the top the printer had some difficulties. The rest went smooth. It is around 12,5 cm high.
New Clam for box with hinge
Today I made a new clam for the box. I work in Blender. The file gave some trouble because during extrude. There were create a couple of loose vertices. I had to repair the file so it could be printed without problems.. It took 1:48 hour to print the item.
The upperpart is a little thicker. Now it fits around the box without extra tape.
It is a very simplistic way to close a box.....but it looks cool...
The upperpart is a little thicker. Now it fits around the box without extra tape.
It is a very simplistic way to close a box.....but it looks cool...
Wednesday, 25 February 2015
Closing lid for the box with hinge
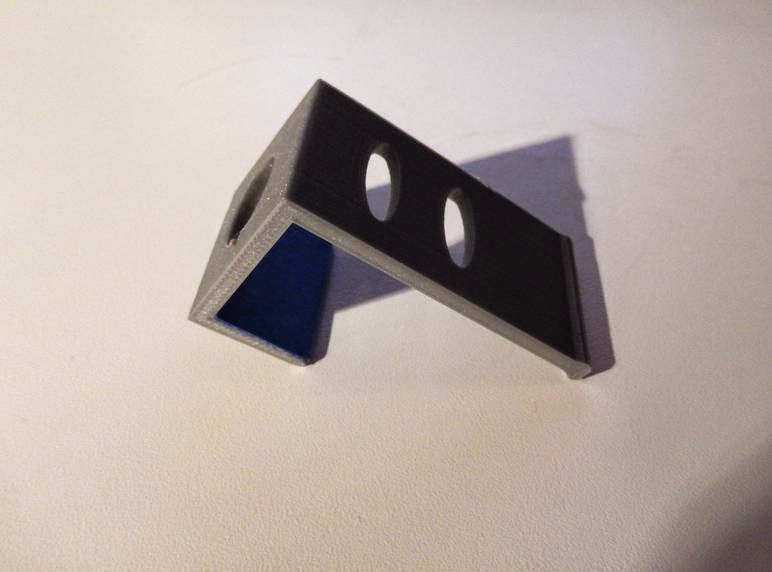
I had made a box with an hinge. This came out very good but it had a drawback. The lid was loose on the box. This would be difficult to transport. So I decided to make an additional locking mechanism. It is a kind of clam. It is created in Blender using the original file for the box. This way I didn't had to do complicated measurements.
After 1:35 hour the printer was ready. But the distance on the inside was just a milimeter to big. It had no grip on the box. For the moment I solved that problem by putting a lot of layers of tape on the inside. You can see that in the third image.
This way it fitted good and stayed in place.
On the middle image above you can see how it stays locked around the box.
Human Head
This afternoon I did a tutorial in Blender on modeling a base-mesh for a human head. The head can be used for the sculpting tools in Blender. The 3D file came out good but my printer, Ultimaker original, had trouble with the more flat parts of the model. As you can see in the pictures. The part of the chin has gone wrong. That is a limitation in the printer. Or I should add some support items. Maybe next time.
Little Box with hinge
On youtube I saw a video on creating a small box with an hinge in Blender. And boxes are easy to print... So that was something to do. He had some good tips in the video. The box has an hinge with an hole that is about 3mm wide in which I can put a piece of the plastic filament used for printing.
I printed the lid and box separetely because it takes about 9 hours to make them both. The lid was ready in 3:48 hours.
The next day I printed the box.
After 5:21 hours this box was ready....
Now I had to see if the hinge was working . I took some plastic filament and it fitted into the hinge. This will be the box in which the little items for the window will fit.
But what to do with the part of the filament that can be seen. The plastic melts quite easy so I took a candle and heated the side of the filament and pressed it directly against cold kitchen tiles. This formed a kind of button. And it looks much better. I will put this item on thingiverse so that others can make it too.
Subscribe to:
Comments (Atom)


